Saturday, June 23, 2012

Brigantine


My first classic Moth event this year was at Brigantine NJ.   Brigantine is the next town above Atlantic City on the NJ coast.  You have to go through AC to get there.  This Abbott moth probably spent it's life about 20 miles south of Brigantine in Ocean City NJ.  My goal in restoring the boat was to sail in the vintage class and make it around the buoys a few times.  I did that and wound up winning the Vintage class..  I get my name on a very exclusive trophy and I got a very nice serving trey.  (pix courtesy of Ingred Albaugh)


Tuesday, May 22, 2012

First sail

Shane and I took the boats out this past weekend.  We went to one of the many ponds here in Delaware.  Shane sailed the Ventnor and I did the first sail in the Abbott.  Don't have any pix of that because we had no ground crew.   The boat sailed really well, right up to the part where the rudder fell off.  I forgot to put the rudder stop on.

I remedied that today.


Tuesday, May 8, 2012

Race boat

We have one.  I put one of my sails on the boat.  With a few minor adjustments she fits nice.  I got the mast sorted out and it now sits at a 90 degree to the boat.  The Vang works and I'm working on a Cunningham and an in haul.


Toy car

I have a 93LE Miata.   The 93LE is a special Miata.  The LE means limited edition.  Mazda only made 1500 of this particular model.  This car featured every available option Mazda had plus a Bilinstine race suspension with BBS wheels.  The interior is red leather.  I consider it my toy car.  It sits all winter waiting for the nice weather.  Last month I started to get the car ready for spring.  That usually consists of checking the fluids, washing and general clean up.   Well, when I opened the hood there was a large birds nest in the motor with 5 blue eggs in it.  I just couldn't take that out.  I'll be getting the car back soon.


Monday, May 7, 2012

Mast

George A graciously lent me a mast for the boat.  This is the first trial fit.  Not bad. Some tweaking and we'll have a race boat.


Wednesday, May 2, 2012

Housekeeping

I made the mast peg leg some time ago.  Just now getting around to putting the mast pin in it.  It's a 3/8 inch SS lag bolt 4 inches long.  I screwed it in so about 1 inch was showing then I cut the head off.  Not an easy job with a manual hack saw.   I also put in the hiking strap.  I put it in the traditional way athwart ship.  That's the way it was done back in the day.   We'll see if that works.  If not I'll put it in fore/aft as are all the other boats now days.
I also added the traveler and finished up rigging the boom.  Boom just needs some varnish.


Monday, April 30, 2012

Woodwork is done

I put the final pieces of wood on the boat.  It's the quarter rounds that mate the splash boards to the deck.  I'm still learning how to do obleque angles.  The floorboards are also in.  You can see from the blank screws where it just didn't quite line up.  I don't remember what boat these came from.  It's clearly not from this boat but one from the same era.
There are a number of odds and ends to tie up but essentially the boat is ready for sea trials.


Saturday, April 28, 2012

Cool parts

I got the plug permanently installed and also the tiller rubrail.  Good stuff!


Friday, April 27, 2012

More brass

I forgot the most important piece pf brass on the entire boat!


And in the boat


Bow brass

Thursday, April 26, 2012

Getting there

I got the rudder fittings installed and the rudder hung on the boat.  


Tuesday, April 24, 2012

Idle hands

One of the things I learned in my stint in the Navy was how to polish brass.  Two of the items pictured are quite unique to this boat.  The bow chainplate handle and the rubrail.  The rubrail sits on the aft deck and prevents the tiller from scratching the deck.  The chainplate makes it easy to pick the boat up.


Twins

I'm just about done on both boats.  Just housekeeping on both.  I'm ready to race!


Monday, April 23, 2012

Parts

I got the tiller and the hiking stick done.  I mimicked the Cates hiking stick for the end flare.  Gives you something to hang on to.  I got that shape by laminating oak strips to the the original stick and then shaped it with the rasp.  The tiller is also a copy from the Cates.

Saturday, April 21, 2012

Paint

Well, this boat is never going to rust.  I used ACE's hardware version of rustoleoum.  It's a hi gloss enamel paint.  Should do well in the environment.  I choose the ACE paint because they mix custom colors.   With rustoleum you have to go with what is in the can.  Beats paying 40 bucks a quart for Brightside.  Which is essentially the same stuff...    This happens to be the same color I painted my very first Ventnor back in the day...


I also got the rudder done


Wednesday, April 18, 2012

Slow going

I got the bottom seams glassed but I don't have any pix.  I did get the rudder blank made up.  I had to make this in two parts because the entire blank would not fit in the planer.
Later on the same day...

                                                                          Still later..
                                                            Looks good to me.
                                                                   Glass on half
                                                           Glass on the entire CB


The next step is to sand the bottom and get some paint on.  Hopefully by the weekend.

Wednesday, April 11, 2012

More boom

It actually turned out real nice.  I cut about 7/8 off the bottom leaving about 1/4 inch from the hole.  I ran all four sides through the table router then ran the boom down the table saw to get the opening.  It went right down the middle...

Tuesday, April 10, 2012

Boom

I put the boom together.  The other day I cut a ten foot long Doug fir 2x4 in half.  I then routered out a groove down the center.  First problem was it shouldn't have been down the center.  Should have been near the top.  I'll address that later.  I put a long string down the center before I glued it.  After it was clamped together I tied a rag to the end of the string and pulled it through the groove to clear out any squeeze out that was inside.  I ran that cloth back and forth a few times.  The bore is clear...


Monday, April 9, 2012

Varnish

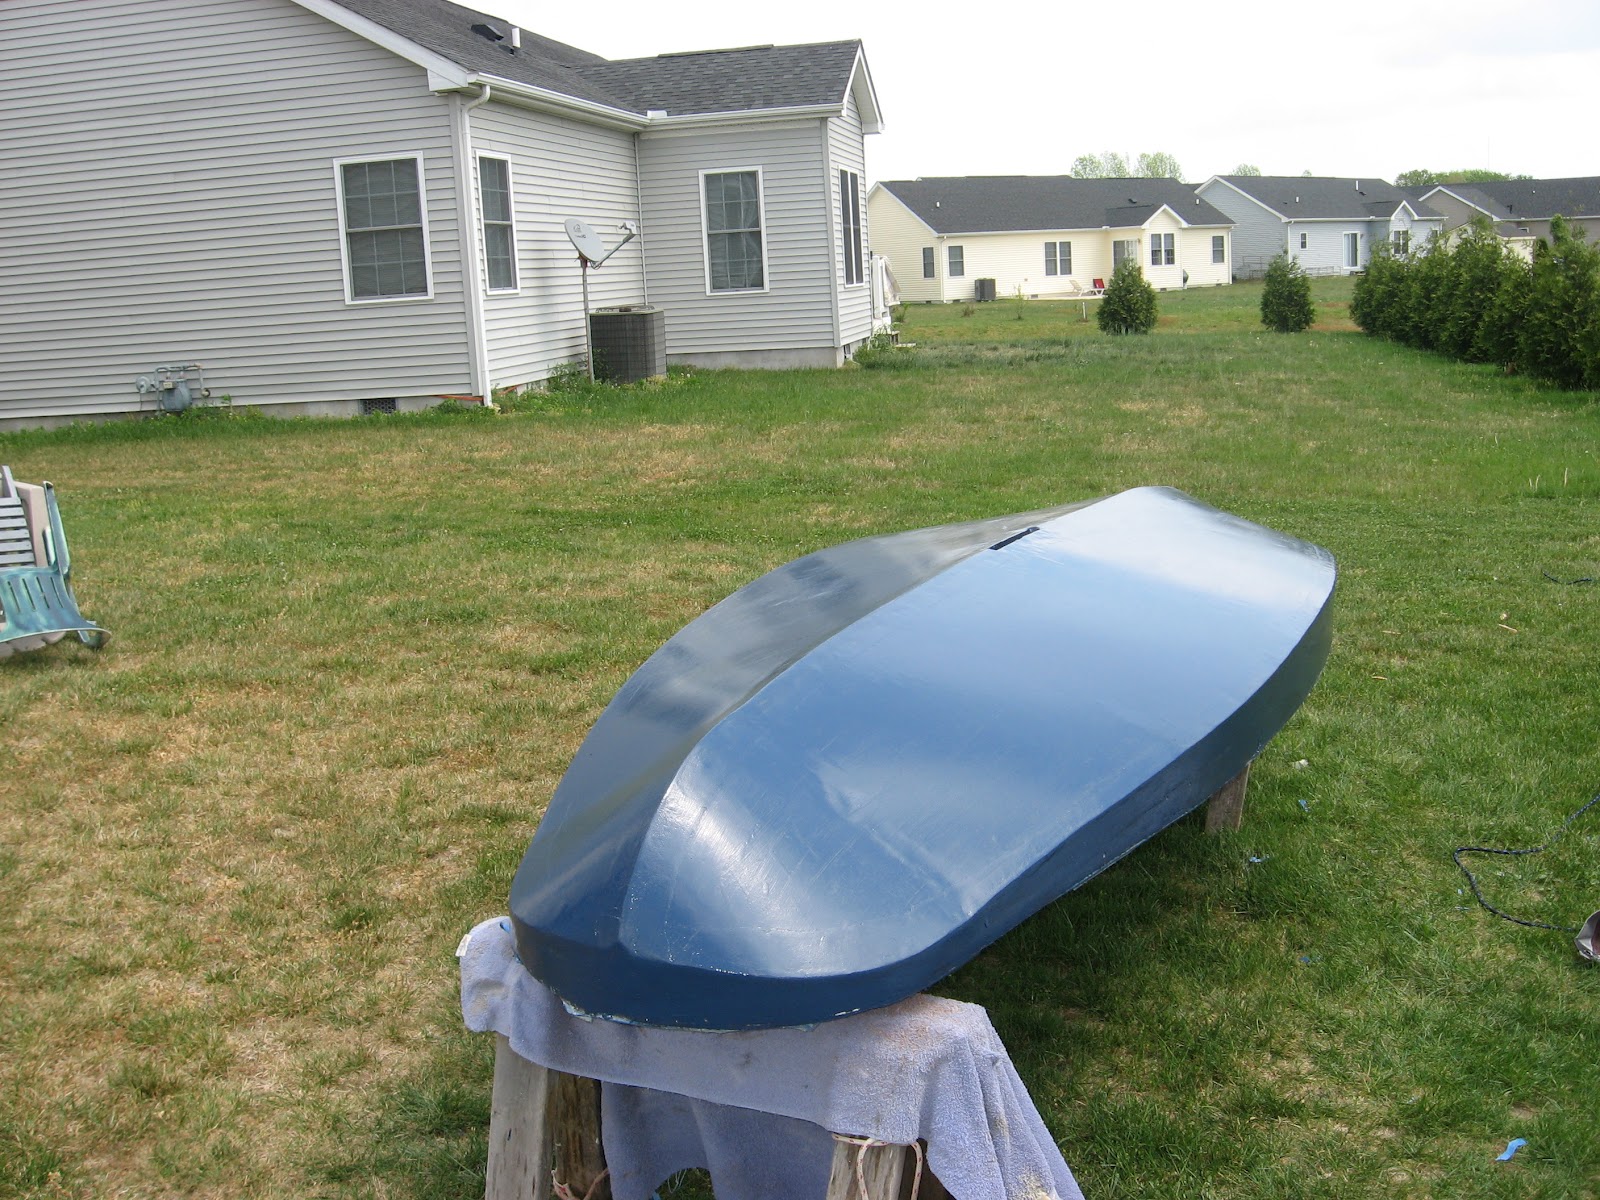
Got three coats of varnish on the boat.  Actually, I'm not using varnish.  I'm using clear urethane.  It looks just as good, had the same or better UV protection, and it goes on much, much easier that varnish.  It's also 1/3 the price.  Can't beat it.  Now I know why none of the box stores carry varnish anymore.


Sunday, April 8, 2012

Boom

Made the boom today.  I got a 10 foot 2x4 straight grain Douglas fir.  I ripped it down the center and then Shane helped me route the groove.  One hiccup but it's not too bad.  I can look down the center and see light at the end so I guess it's not too bad.  I also got the first coat of varnish on the boat but my camera was set wrong so there is no pix.


Saturday, April 7, 2012

CB shape

Got the CB rough shape.  I'll work on this off and on until it's just right.  I used a NACA10665 shape.  Not sure what that means but it works for this blade.   One of my other favorite tools did this.  The electric hand planer!  Made short work of it.  I used the spoke shave to clean it up and the rasp to round every thing up.  I also put a coat of resin on the bottom.  That's going to substitute for paint primer.


Friday, April 6, 2012

Getting there

I got the boat flipped over.  The goal now is to get all the holes and gaps filled with Rockhard putty.  If you haven't used this stuff it's amazing.  It sets up in about an hour and is as the name says.  It's rock hard.  It doesn't shrink, crack or fall out.  It's also very sander friendly.  I also made a new mast trim ring.  The old one was just not as nice to look at as a brand new one.  The little quarter rounds I talked about in the last post just crumbled in my hands as  I was trying to clean them up.  I'll get some new quarters and see if they will fit.   The old ones have a 1/2 inch face but the base is only 5/8 wide.    


Thursday, April 5, 2012

Centerboard

I made the centerboard blank today.  I got some cedar from Lowe's.  I pick through the pile and find the ones with as few blemishes a possible.  I got lucky and found two 8 foot x 8 inch slabs.  I cut one in half then ripped it on the table saw about 1 3/16 inch wide.  Then I glued the whole thing together, let it dry, and ran it though the surface planer.  I'll find a NACA profile that fits and shape the blade this weekend.  I also found another gem.  I found the original 1/4 rounds that backed up the splash board.  They were in the pile of trash that accumulated on the floor of the shed.  I cleaned house today and there they were.  I'll clean them up and reuse them.